Floor & Wall Tile Calculator: Complete Estimation Guide
Tile installation is one of the most common and cost-significant finishing works in residential and commercial construction. Accurate tile quantity estimation ensures you purchase enough tiles without over-ordering (which wastes money) or under-ordering (which causes work stoppages and colour batch mismatch problems). This guide covers the complete engineering approach to tile estimation including wastage factors, adhesive mortar quantities, grout estimation, and IS code quality standards.
1. Why Accurate Tile Estimation is Critical
The most common and costly mistake in tile procurement is underestimating quantities. Tiles are manufactured in batches, and even from the same manufacturer, different production batches have slight shade variations (known as shade lot variation). If you run short and need to reorder, the new tiles may not perfectly match the originally installed tiles — causing visible colour differences that cannot be corrected without replacing all tiles.
Over-ordering by 10–15% (wastage factor) is the standard industry practice. Leftover tiles are also valuable for future replacements due to accidental breakage, which commonly occurs 5–10 years after installation.
2. Tile Area Calculation Method
Net Area to be Tiled = Room Length × Room Width (for floors)
Wall Tile Area = Sum of (Width × Height) of each wall minus openings (doors and windows)
Number of Tiles = (Net Area × (1 + Wastage%)) ÷ (Tile Length × Tile Width)
Always convert all measurements to the same unit. If tile size is in mm, convert area to mm² or convert tile dimensions to metres for calculation consistency.
3. Wastage Factors by Layout Type
| Layout Pattern | Wastage Factor | Reason |
|---|
| Straight (grid) layout | 5% | Minimal cuts at edges |
| Brick bond / offset pattern | 8–10% | More edge cuts required |
| Diagonal (45°) layout | 12–15% | Heavy edge cutting at all perimeter walls |
| Herringbone / Chevron | 15–20% | Complex cutting at all edges |
| Large format tiles (>600mm) | 10–15% | Single cut removes large piece |
4. Standard Tile Sizes & IS 13630 Quality Standard
IS 13630 series covers ceramic floor and wall tiles — including dimensional tolerances, surface flatness, water absorption, breaking strength, chemical resistance, and slip resistance (COF - Coefficient of Friction). For floor tiles, IS 13630 mandates:
- Water Absorption: Vitrified tiles < 0.5% (Group BIa), Ceramic floor tiles 3–6% (Group BIIa)
- Breaking Strength: Minimum 1300N for tiles > 4mm thickness
- Slip Resistance (wet areas): COF ≥ 0.6 for commercial use; COF ≥ 0.4 for residential
- Dimensional Tolerance: Length/Width ±0.5%, Thickness ±5%
5. Adhesive Mortar & Grout Quantity
Tile Adhesive (Cement-based): Coverage is typically 3–5 kg per m² for standard 5–6mm bed thickness on floors. For wall tiles with thin-bed adhesive, 3–4 kg/m² is common.
Grout Quantity Formula: Grout (kg/m²) = (Tile Length + Tile Width) / (Tile Length × Tile Width) × Joint Width × Tile Thickness × Grout Density
For 600×600mm tiles with 3mm joints and 10mm thick tiles: approximately 0.2–0.35 kg/m² of grout powder.
6. Types of Tiles & Selection Guide
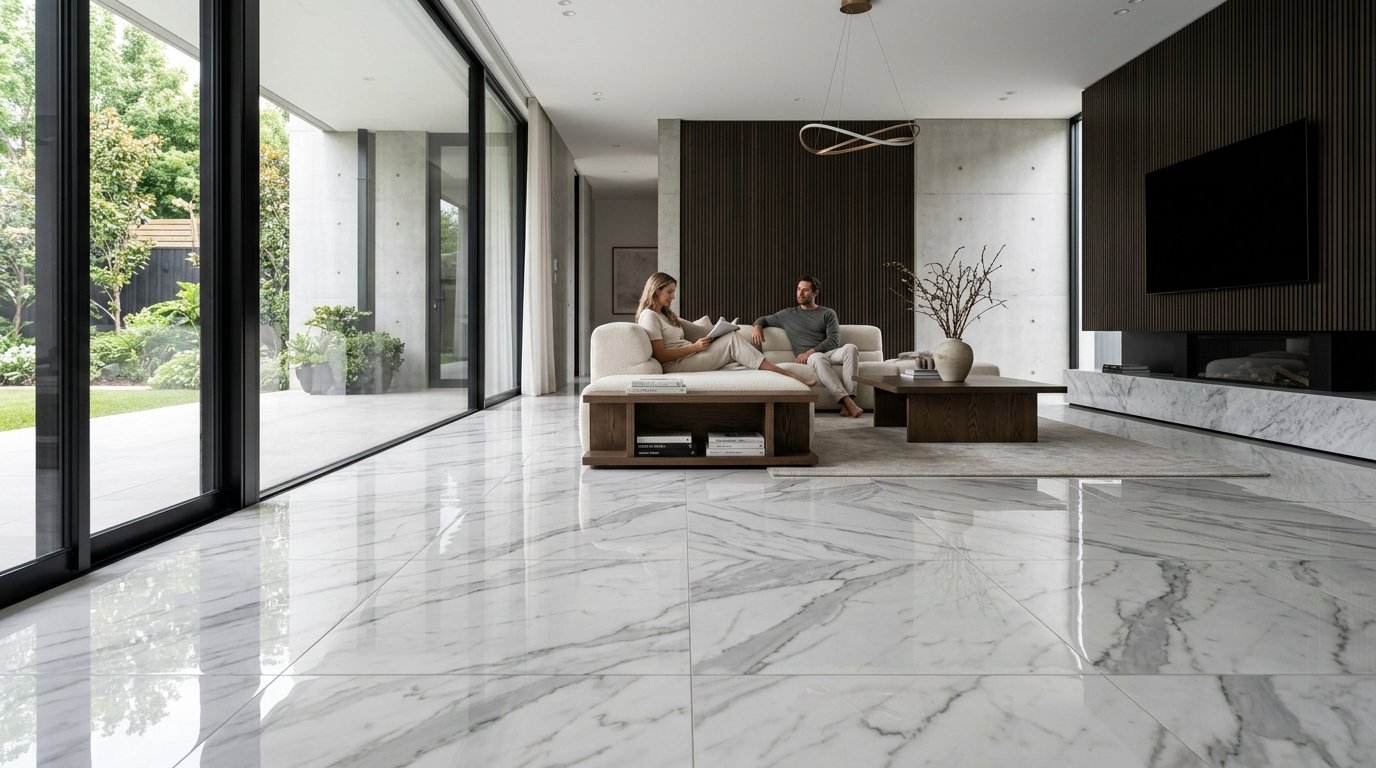
Vitrified Tiles (Glazed & Full Body): Least water absorption; most durable; ideal for living rooms, bedrooms, commercial floors. Available in large formats up to 1200×2400mm. GVT (Glazed Vitrified Tile) and PGVT (Polished Glazed Vitrified Tile) variants available.
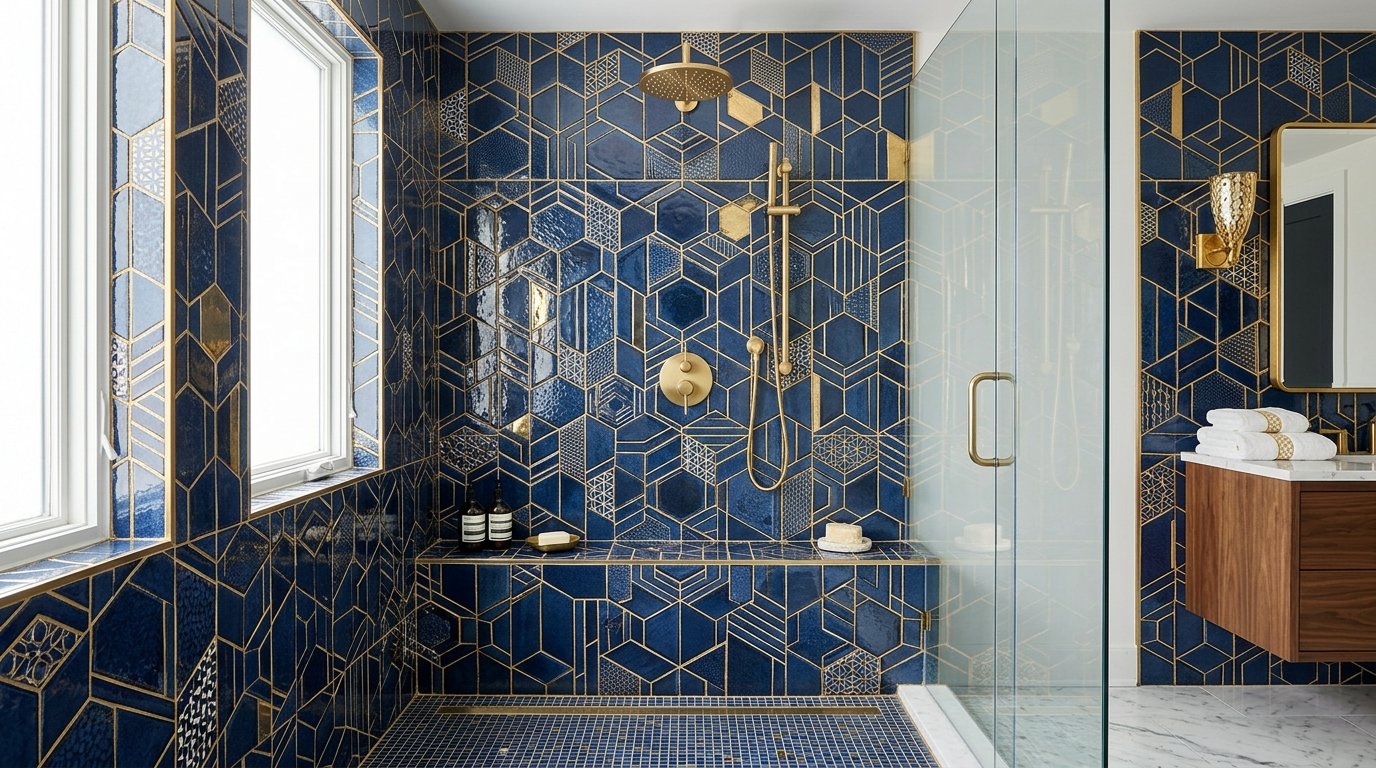
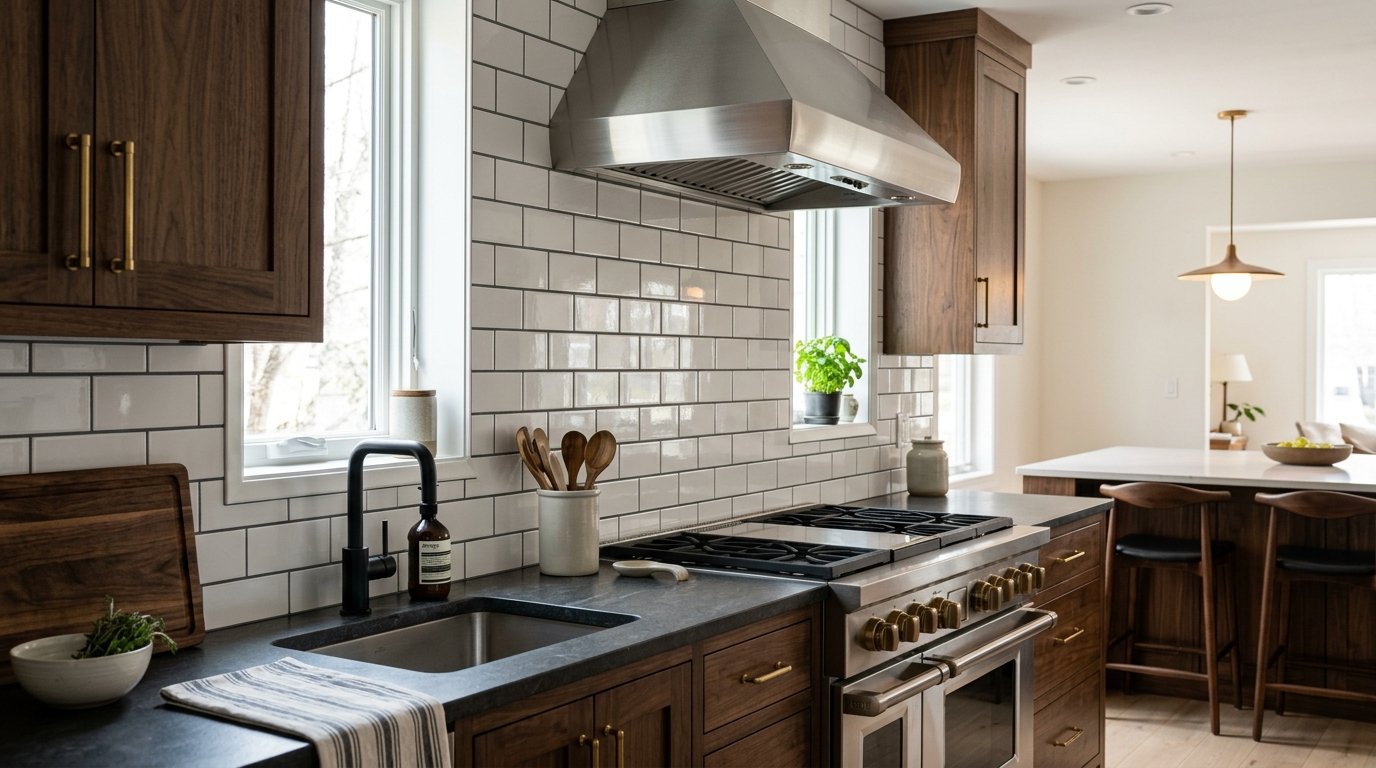
Ceramic Tiles: Higher water absorption than vitrified; suitable for walls; lower cost. Good for bathrooms, kitchens, and balconies.
Porcelain Tiles: Dense, low porosity; frost-resistant; suitable for outdoor and heavy-duty floors.
Natural Stone (Marble, Granite, Sandstone): Premium aesthetic; requires sealing; higher maintenance; heavier weight (20–30 kg/m² including mortar bed).
7. Skirting Tile Calculation
Skirting (dado or plinth tile) is typically 100–150mm height installed at the floor-wall junction. Calculate skirting area separately:
Skirting Area = Total Room Perimeter × Skirting Height − Door Widths
Add 10–15% wastage for skirting cuts at corners. Skirting tiles are often the same material as floor tiles for visual continuity.
8. Frequently Asked Questions
Q1: How many tiles for a 10x12 room?
Area = 120 sqft = 11.15 sqm. Using 600×600mm tiles (0.36 m²/tile): 11.15 / 0.36 = 31 tiles × 1.08 (8% wastage) = 34 tiles. Always round up to nearest full box.
Q2: What is the difference between vitrified and ceramic tiles?
Vitrified tiles have water absorption < 0.5% and are denser, more scratch-resistant, and suitable for high-traffic areas. Ceramic tiles have 3–6% water absorption and are more suitable for walls and low-traffic floors.
Q3: How thick should tile adhesive be?
For floor tiles on a well-prepared smooth surface, 3–5mm of tile adhesive is standard. For large format tiles or uneven sub-floors, 6–10mm bed thickness may be used. Never exceed 12mm for adhesive bedding — use a traditional sand-cement mortar bed for thicker applications.
Q4: What is the best grout colour?
Matching grout (similar to tile colour) makes the floor look uniform and larger. Contrasting grout highlights the tile pattern. Light grout on floors shows dirt more easily. Dark or neutral grey grout is practical for high-traffic floor areas.
Q5: Should I leave expansion joints between tiles?
Yes. IS 13630 and tile manufacturer guidelines recommend 2–3mm grout joints for floor tiles. For large format tiles (>600mm) or outdoor areas, 4–6mm joints are recommended. Expansion joints (filled with flexible sealant, not grout) should be provided at perimeter walls and every 4–6m in large areas.
Q6: How do I check tile quality before purchasing?
Visually check for warping (lay tiles face-to-face and check gap), surface scratches, and dimensional accuracy. Request the IS 13630 test certificate from the manufacturer. Check water absorption by placing a few drops of water on the tile back — vitrified tiles should not absorb water.
Q7: What is the difference between floor tile and wall tile?
Floor tiles must be slip-resistant (higher COF) and structurally stronger (higher breaking strength) to withstand foot traffic and point loads. Wall tiles can have higher water absorption and are typically thinner and lighter. Never use wall tiles on floors — they will crack under load.
Q8: How long does tile installation take per day?
A skilled tile mason can lay approximately 15–25 sqm per day for standard floor tiles. Wall tiles (which require more precision and alignment) proceed at 8–15 sqm per day. Large format tiles or complex patterns take longer.
Q9: What sub-floor preparation is needed before tiling?
The sub-floor must be: structurally sound, clean and free of grease/paint, level (max 3mm variation per 3m), dry (moisture content < 5%), and strong enough to support tile weight. Concrete sub-floors need minimum 28 days curing before tiling.
Q10: Can I tile over existing tiles?
Technically possible if existing tiles are fully bonded, flat, and the new tile load won't exceed structural limits. However, it raises floor level, requires compatibility of adhesives, and risks future delamination. Removal and fresh installation is preferred for quality work.